IOS钉钉远程打卡插件
之前直接用了一个anywhere改个地理位置就可以远程打卡了但是自从3.5.1更新过后加上了防劫持的函数之后就没法使用了。于是想着自己动手做一个,下面是过程
IOS钉钉远程打卡插件
之前直接用了一个anywhere改个地理位置就可以远程打卡了但是自从3.5.1更新过后加上了防劫持的函数之后就没法使用了。于是想着自己动手做一个,下面是过程
安装 Cluth
首先,将 Cluth仓库 clone 到本地:
mac$ git clone https://github.com/KJCracks/Clutch
mac$ cd Clutch
参考Cluth ReadMe的编译方法
mac$ killall Xcode
mac$ cp /Applications/Xcode.app/Contents/Developer/Platforms/iPhoneOS.platform/Developer/SDKs/iPhoneOS.sdk/SDKSettings.plist ~/
/usr/libexec/PlistBuddy -c "Set :DefaultProperties:CODE_SIGNING_REQUIRED NO" /Applications/Xcode.app/Contents/Developer/Platforms/iPhoneOS.platform/Developer/SDKs/iPhoneOS.sdk/SDKSettings.plist
/usr/libexec/PlistBuddy -c "Set :DefaultProperties:AD_HOC_CODE_SIGNING_ALLOWED YES" /Applications/Xcode.app/Contents/Developer/Platforms/iPhoneOS.platform/Developer/SDKs/iPhoneOS.sdk/SDKSettings.plist

mac$ xcodebuild clean build
到这步的时候没有意外的话可以看到在Cluth目录/build文件夹下面有一个Clutch文件把这个文件拷贝到iPhone中
发送命令
mac$ scp ./build/Clutch root@<your.device.ip>:/usr/bin/Clutchssh登录到手机
mac$ ssh root@<your.device.ip>

iphone$ Clutch -i
这时候会列出手机中安装的APP以及Bundle Id
使用Clutch砸壳
下面可以开始进行反向工程了
iphone$ clutch -d com.laiwang.DingTalk反向过后的内容保存在 /private/var/mobile/Documents/Dumped/
iphone$ cd /private/var/mobile/Documents/Dumped/
iphone$ mv com.laiwang.DingTalk-iOS7.0-\(Clutch-2.0.4\).ipa DingTalk.ipa
#将ipa文件发送到Mac上
mac $ scp root@<your.device.ip>:/private/var/mobile/Documents/Dumped/DingTalk.ipa ~/Desktop/DingTalk
安装class-dump
下载完成后
在~目录下新建一个 bin 目录,并将其添加到 PATH 路径中,然后将下载后的 class-dump-3.5.dmg 里面的 class-dump 可执行文件复制到该 bin 目录下,赋予可执行权限:
mac$ mkdir ~/bin
mac$ vim ~/.bash_profile
# 编辑 ~/.bash_profile 文件或~/.zshrc,并添加如下一行
export PATH=~/bin/:$PATH
# 将 class-dump 拷贝到 bin 目录后执行下面命令
mac$ chmod +x ~/bin/class-dump
#尝试运行class-dump会输出如下内容
class-dump 3.5 (64 bit) (Debug version compiled Jul  6 2017 22:22:07)
Usage: class-dump [options] <mach-o-file>

  where options are:
        -a             show instance variable offsets
        -A             show implementation addresses
        --arch <arch>  choose a specific architecture from a universal binary (ppc, ppc64, i386, x86_64, armv6, armv7, armv7s, arm64)
        -C <regex>     only display classes matching regular expression
        -f <str>       find string in method name
        -H             generate header files in current directory, or directory specified with -o
        -I             sort classes, categories, and protocols by inheritance (overrides -s)
        -o <dir>       output directory used for -H
        -r             recursively expand frameworks and fixed VM shared libraries
        -s             sort classes and categories by name
        -S             sort methods by name
        -t             suppress header in output, for testing
        --list-arches  list the arches in the file, then exit
        --sdk-ios      specify iOS SDK version (will look for /Applications/Xcode.app/Contents/Developer/Platforms/iPhoneOS.platform/Developer/SDKs/iPhoneOS<version>.sdk
                       or /Developer/Platforms/iPhoneOS.platform/Developer/SDKs/iPhoneOS<version>.sdk)
        --sdk-mac      specify Mac OS X version (will look for /Applications/Xcode.app/Contents/Developer/Platforms/MacOSX.platform/Developer/SDKs/MacOSX<version>.sdk
                       or /Developer/SDKs/MacOSX<version>.sdk)
        --sdk-root     specify the full SDK root path (or use --sdk-ios/--sdk-mac for a shortcut)
使用 class-dump 导出头文件
先将 ipa 解压,然后导出头文件:
mac $ cd ~/Desktop
mac $ unzip DingTalk.ipa -d DingTalk
mac $ cd DingTalk
mac $ class-dump -S -s -H Payload/DingTalk.app/DingTalk -o Headers/
现在,钉钉的头文件已经被导出到 Headers 目录中了。接下来就是要开始分析,界面与功能了。
UI分析
一般来讲,在这步都是直接使用 Reveal 找到想要分析的那个界面,拿到它的控制器,然后在头文件中寻找相关的方法。利益于 Objective-C 的命名风格,一般通过名字大致就能判断出需要进行 Hook 的方法了。
在越狱机器上使用 Reveal 来分析界面是很简单的,只要在 cydia 市场搜索 Reveal Loader 并进行安装。之后就可以在设置中看到一个 Reveal 选项,进去之后在里面选择需要启动 Reveal 分析的应用,以后启动这些应用的时候,就可以在 reveal 中直接分析这些应用的界面了。
回到正题,继续钉钉界面的分析。
我很无奈地发现钉钉的签到界面是使用 WebView 实现的,这就对界面的分析造成了很大的困难,只好另寻它路了。
编写Tweak
下面那篇文章中提供的直接HookdidUpdateLocations的方法从钉钉3.5.1开始就添加了相应的检测方法如果直接Hook该方法会出现如下提示:
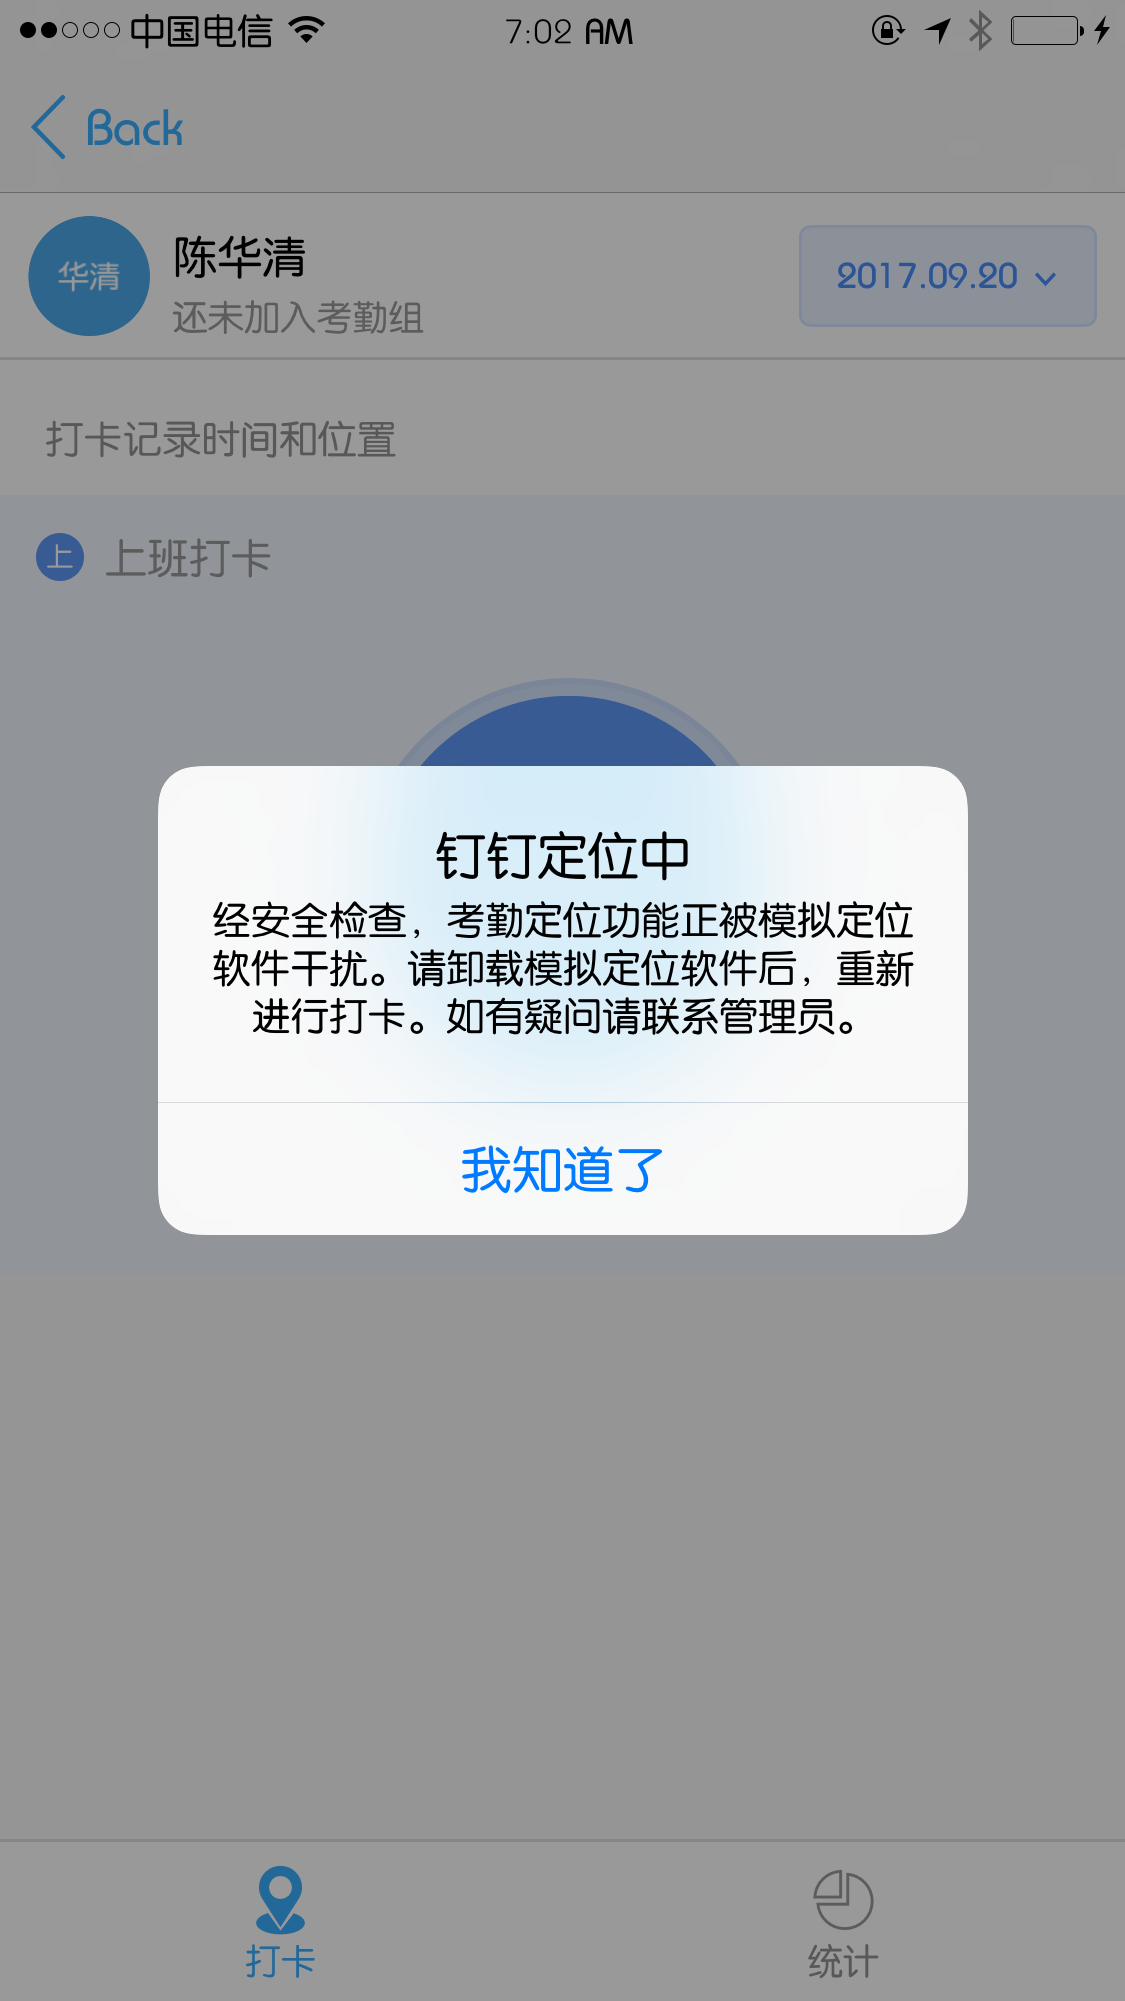
在github上搜了一下发现如下代码:
需要Hook方法如下:
AMapGeoFenceManager
AMapLocationManager
DTALocationManager
#Hook三个类中的detectRiskOfFakeLocation方法返回NO即可
完整代码:
%hook AMapGeoFenceManager
- (BOOL)detectRiskOfFakeLocation {
return NO;
}
%end
%hook AMapLocationManager
- (BOOL)detectRiskOfFakeLocation {
return NO;
}
%end
%hook DTALocationManager
- (BOOL)detectRiskOfFakeLocation {
return NO;
}
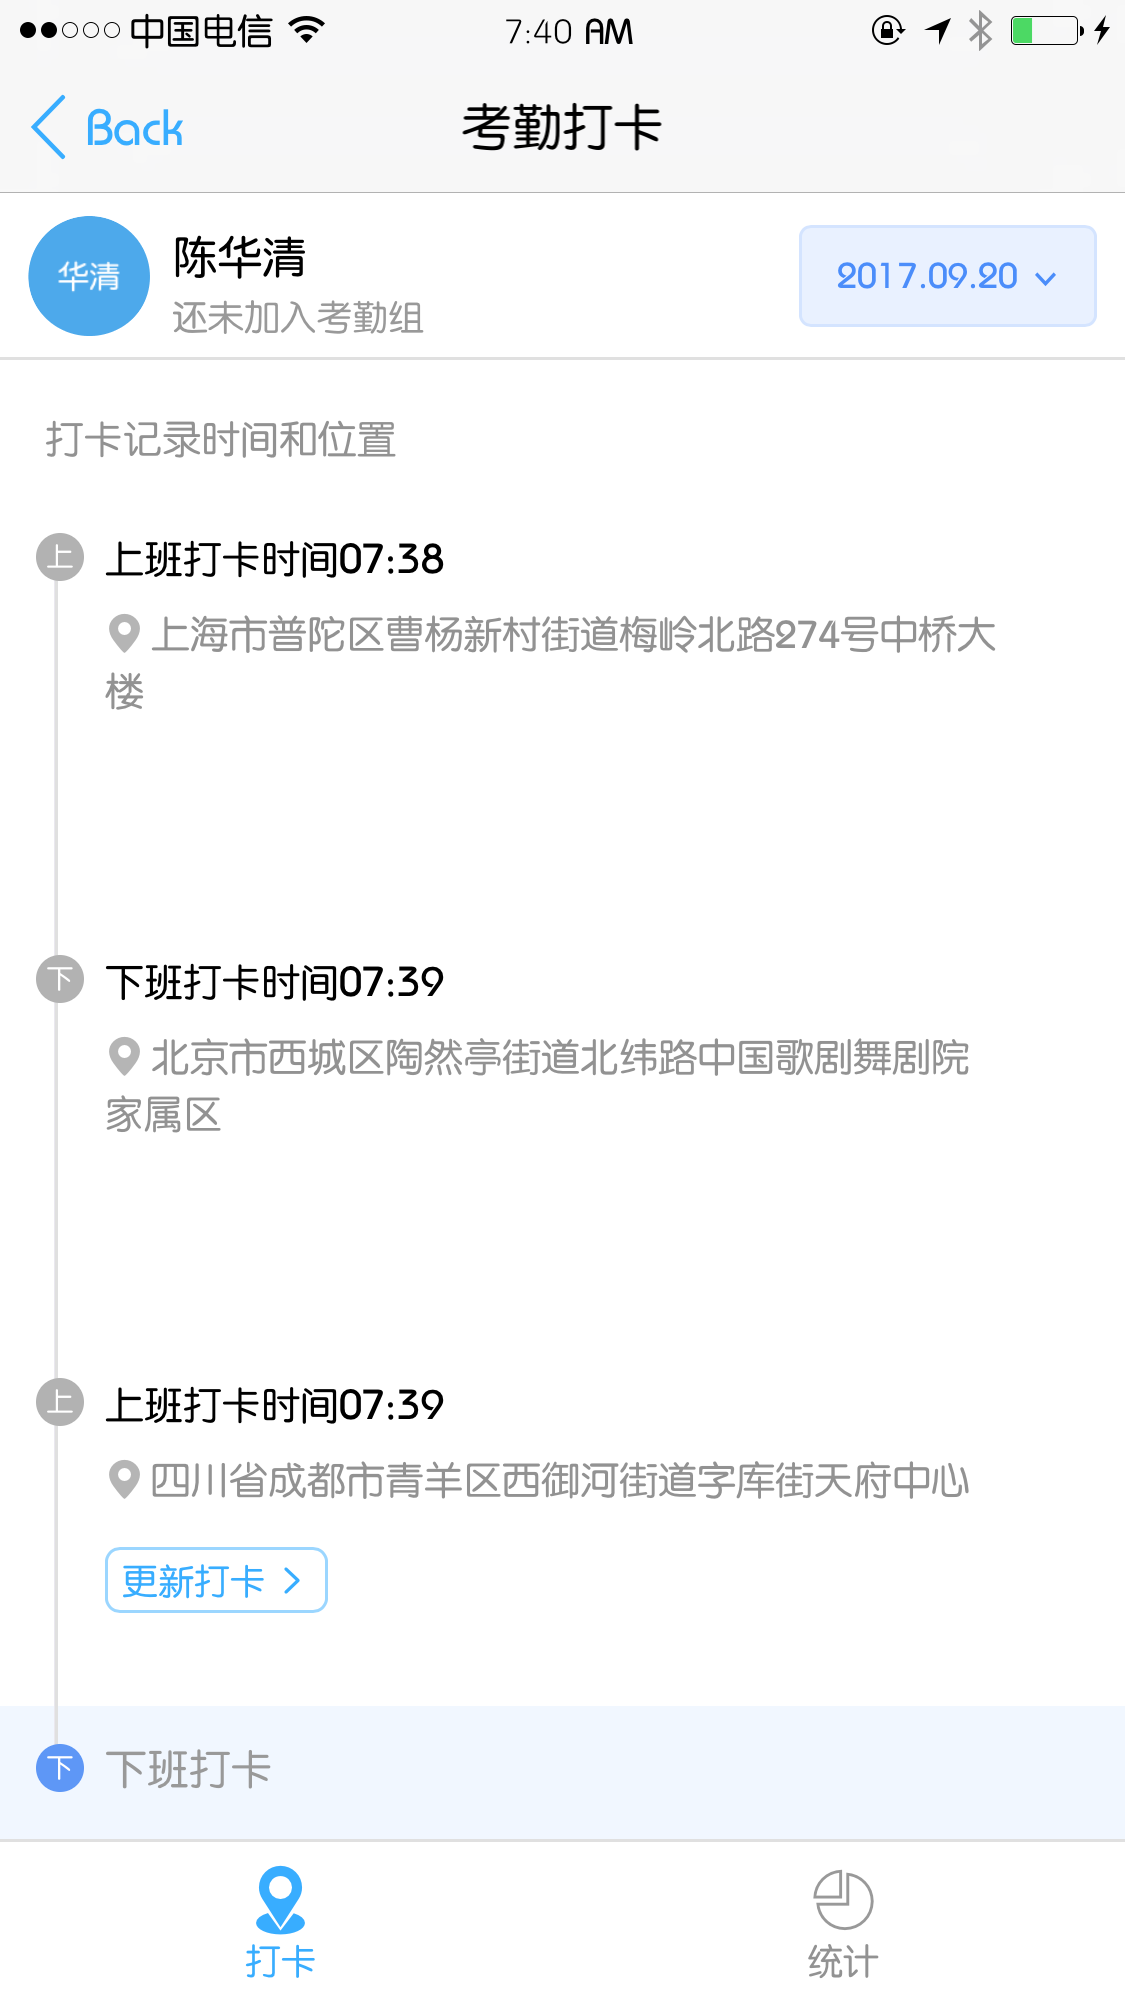
%end这个时候在使用修改地理位置的软件就不会出现上图的提示框了,或者直接将经纬度写死,可参考下面文章的最后编写Tweak部分。
效果如图: